

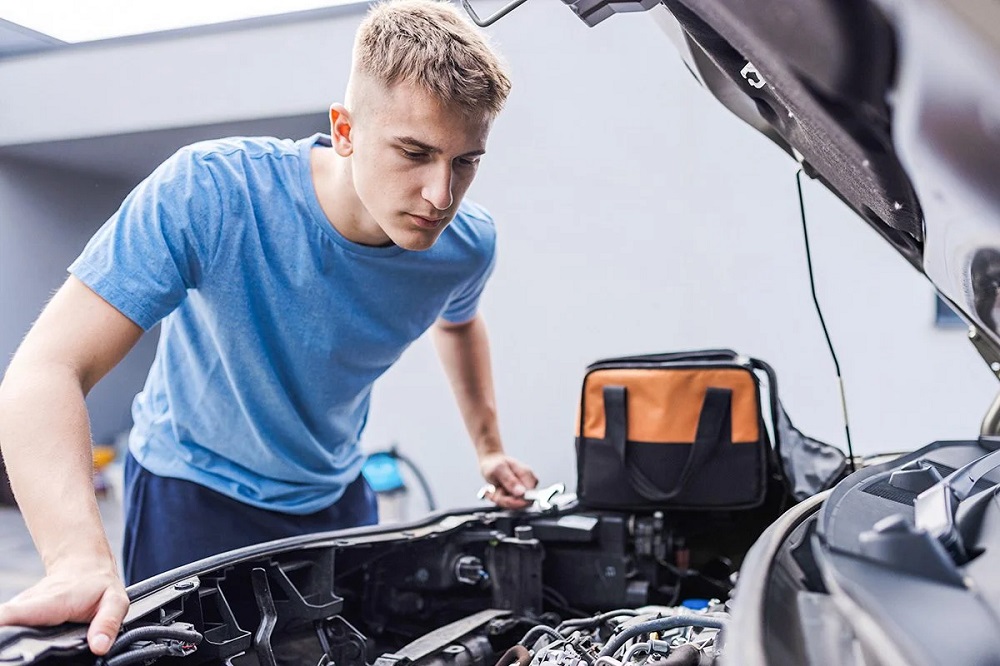
Owning a vehicle brings a high degree of freedom, but it also introduces the ongoing responsibility of maintenance. Many drivers assume that any issue under the hood requires an immediate trip to a professional mechanic. While major engine overhauls and transmission repairs demand specialized training and heavy machinery, a significant number of preventative maintenance tasks are straightforward enough for anyone to perform at home.
Taking care of these basic tasks yourself yields substantial benefits. It saves hundreds of dollars in labor fees annually, extends the overall lifespan of your vehicle, and ensures you understand the mechanical condition of your car. This guide details the essential do-it-yourself maintenance routines that every driver can safely execute in their own driveway or garage.
Replacing the Engine Air Filter
The engine air filter acts as the lungs of your vehicle. It prevents dust, dirt, and road debris from entering the combustion chamber, ensuring the engine receives clean air for optimal performance. Over time, the filter becomes clogged, restricting airflow and reducing fuel efficiency.
Tools and Parts Required
- A new engine air filter specific to your vehicle make and model
- A screwdriver or socket wrench (only required for specific vehicle models)
Step-by-Step Procedure
- Locate the air filter box: Open the hood and look for a large black plastic box, usually situated near the front or side of the engine bay.
- Open the housing: Most modern vehicles use metal clips or plastic tabs to secure the box lid. Snap these open by hand. If your vehicle utilizes screws, remove them with the appropriate tool.
- Remove the old filter: Lift the cover and pull the rectangular, pleated paper filter out of the housing. Take note of which direction the pleats face so you can orient the new one correctly.
- Clean the housing: Wipe away any loose debris or leaves from the bottom of the plastic box using a clean cloth.
- Insert the new filter: Place the fresh filter into the housing, ensuring the rubber seal sits flush along the edges.
- Secure the cover: Lower the lid back into place and fasten the clips or screws securely.
Changing Windshield Wiper Blades
Clear visibility during heavy rain or snow is a fundamental safety requirement. Wiper blades are made of rubber that naturally degrades over time due to exposure to UV rays, temperature fluctuations, and ozone. If your wipers leave streaks, squeak, or fail to clear moisture effectively, they require immediate replacement.
Tools and Parts Required
- A set of replacement wiper blades matching the exact lengths specified in your owner manual
Step-by-Step Procedure
- Lift the wiper arms: Pull the metal wiper arm away from the windshield until it locks into an upright, vertical position.
- Locate the release mechanism: Look at the joint where the rubber blade assembly connects to the metal arm. You will find a small plastic tab or button.
- Depress the tab: Press the plastic tab down and slide the old wiper blade downward toward the car hood to release it from the hook.
- Protect the glass: Carefully place a soft cloth on the windshield underneath the bare metal arm. If the arm accidentally snaps back down without a blade attached, it can easily crack the windshield glass.
- Install the new blade: Slide the new blade assembly onto the metal hook until you hear or feel a distinct click, confirming it is locked.
- Lower the assembly: Gently guide the wiper arm back down onto the glass surface. Repeat the entire process on the opposite side.
Checking and Adjusting Tire Pressure
Maintaining correct tire pressure directly affects vehicle handling, braking efficiency, tire longevity, and fuel consumption. Underinflated tires generate excessive heat and wear down prematurely on the outer edges, while overinflated tires reduce traction and cause uneven wear down the center of the tread.
Tools and Parts Required
- A reliable tire pressure gauge
- An air compressor or a public air station at a local gas station
Step-by-Step Procedure
- Determine the correct pressure: Look inside the driver side door jamb for a printed placard containing the manufacturer recommended pressure level, measured in pounds per square inch. Do not use the maximum pressure printed on the tire sidewall itself.
- Check when tires are cold: For the most accurate reading, check the pressure in the morning before driving the vehicle, or at least three hours after driving.
- Remove the valve cap: Unscrew the plastic cap from the tire valve stem and place it in a safe spot.
- Take the reading: Press the tire pressure gauge firmly onto the valve stem. Hold it straight to avoid letting air escape. Read the measurement displayed on the gauge.
- Adjust the air level: If the reading falls below the recommended level, add air using the compressor. If the reading is too high, press the small pin inside the valve stem to release excess air.
- Re-check and cap: Verify the pressure once more with the gauge, then screw the plastic valve cap back on tightly.
Testing and Cleaning Battery Terminals
A weak or corroded battery connection prevents your vehicle from starting reliably. Lead-acid car batteries naturally release hydrogen gas during normal operation, which reacts with heat and metallic components to form a crusty, white, blue, or green substance called aluminum sulfate or copper sulfate around the terminals. This corrosion acts as an insulator, blocking the flow of electricity.
Tools and Parts Required
- A socket wrench or combination wrench
- A dedicated battery terminal brush or a stiff wire brush
- Baking soda and warm water
- Protective rubber gloves and safety glasses
Step-by-Step Procedure
- Prioritize safety: Turn off the engine completely. Put on your gloves and eye protection to safeguard against skin contact with battery acid.
- Disconnect the negative terminal first: Locate the negative terminal, marked with a minus sign or a black cover. Loosen the nut with your wrench and twist the cable end off the post. Always disconnect the negative cable first to prevent accidental electrical short circuits.
- Disconnect the positive terminal: Locate the positive terminal, marked with a plus sign or a red cover. Loosen the nut and remove the cable.
- Mix the cleaning solution: Stir one tablespoon of baking soda into a small cup of warm water.
- Scrub away corrosion: Dip the wire brush into the baking soda mixture and scrub the metallic battery posts and the internal loops of the cable clamps until the corrosion dissolves.
- Rinse and dry: Wipe the area clean with a damp rag to remove any remaining baking soda solution, then dry the components thoroughly with a clean cloth.
-
Reconnect the cables: Slide the positive cable back onto the positive post and tighten the nut securely. Next, reconnect the negative cable to the negative post and tighten it down.
Replacing a Burnt-Out Headlight or Taillight Bulb
Driving with a non-functioning exterior bulb reduces your ability to see the road and makes it difficult for other motorists to spot your vehicle. It also leaves you vulnerable to receiving a traffic citation. Replacing a bulb takes very little time and requires minimal mechanical aptitude.
Tools and Parts Required
- A replacement bulb matching the exact code found in your vehicle manual
- Clean nitrile gloves or a microfiber cloth
Step-by-Step Procedure
- Access the rear of the light assembly: Open the hood to access headlight bulbs, or open the trunk or tailgate to reach taillight bulbs. Some vehicles feature small plastic access panels that snap out of place.
- Disconnect the wiring harness: Locate the plastic electrical connector plugged into the back of the bulb base. Squeeze the release tab on the sides of the plastic plug and pull it straight back.
- Remove the old bulb: Depending on the design, turn the bulb base a quarter turn counterclockwise to unlock it, or unclip a wire retaining spring. Pull the bulb straight out of the housing.
- Handle the new bulb with care: Put on clean gloves or use a cloth to hold the new bulb. Never touch the glass portion of a halogen bulb with your bare fingers. The natural oils from your skin create hot spots on the glass surface when illuminated, causing the bulb to shatter or burn out prematurely.
- Install the new bulb: Insert the bulb into the housing and turn it clockwise to lock it home, or re-engage the retaining clip.
- Reconnect the power: Snap the electrical wiring harness back onto the bulb base and test the lights before closing up the vehicle paneling.
Checking and Topping Off Vital Fluids
Your car relies on a variety of specialized fluids to lubricate moving parts, dissipate heat, and facilitate hydraulic function. Regularly checking these fluid levels enables you to identify leaks early before they cause catastrophic component failures.
Fluid Categories and Inspection Methods
- Engine Oil: Park the car on level ground and turn off the engine. Pull out the oil dipstick, wipe it clean with a rag, reinsert it fully, and pull it out again. The oil level must sit between the two indicator marks or within the crosshatched zone at the tip.
- Coolant: Locate the translucent plastic coolant overflow reservoir in the engine bay. Never open the radiator cap when the engine is hot. Observe the fluid level through the side of the container; it must align between the low and high markings.
- Windshield Washer Fluid: Locate the reservoir cap, which typically features a windshield wiper icon. Pop the cap open and visually inspect the level. Pour washer fluid directly into the neck until it approaches the top.
- Brake Fluid: Locate the master cylinder reservoir near the firewall on the driver side. Look through the translucent plastic side walls to check the level against the minimum and maximum lines. If the fluid level drops significantly, it indicates worn brake pads or a leak in the hydraulic line.
Frequently Asked Questions
What happens if I accidently mix different colors or types of engine coolant?
Mixing incompatible coolant types, such as traditional green inorganic acid technology coolant with modern orange or pink organic acid technology coolant, can trigger an adverse chemical reaction. The fluids can gel or form a thick sludge inside the cooling system. This sludge blocks the narrow passages within your radiator and engine block, restricting coolant flow and leading to severe engine overheating and water pump failure. Always verify the specific coolant specification detailed in your vehicle manual.
How can I safely dispose of old automotive fluids like engine oil or coolant?
Automotive fluids are highly toxic environmental hazards and must never be poured down household drains, storm sewers, or onto the ground. Pour the used fluids into clean, leak-proof plastic containers with secure caps. Most auto parts stores and municipal recycling centers accept used oil, oil filters, transmission fluid, and coolant free of charge for proper recycling and disposal.
Why does my new windshield wiper blade leave streaks immediately after installation?
If a brand new wiper blade streaks, it is typically due to a buildup of dirt, wax, or road film on the windshield glass itself rather than a defect in the rubber. Thoroughly clean the glass using a dedicated automotive glass cleaner or a mixture of water and vinegar. Additionally, wipe down the edge of the new rubber blade with a damp paper towel to remove any manufacturing residue or dust accumulated during storage.
Can I clean a cabin air filter instead of buying a replacement?
Standard paper cabin air filters are designed for single use and cannot be effectively washed or blown clean with compressed air. The fine paper fibers degrade when wet, and compressed air can create microscopic tears in the filter media, allowing allergens, dust, and mold spores to enter the interior ventilation system. If your vehicle uses a specialized, washable aftermarket filter made of woven cotton or synthetic fabric, follow the manufacturer specific cleaning kit instructions.
Is it safe to use tap water in my vehicle cooling system if the coolant level is low?
Tap water contains dissolved minerals such as calcium and magnesium. When subjected to the high temperatures inside an engine, these minerals precipitate out of the water, forming scale deposits along the internal cooling jackets and radiator tubes. This scale acts as an thermal insulator and restricts heat transfer. If you must add water in an emergency, use distilled water, which has been stripped of all minerals and impurities.
How often should I check my tire pressure?
Tire pressure should be checked at least once every month, as well as before embarking on long road trips. Tires naturally lose roughly one pound per square inch of pressure every month through microscopic permeation through the rubber. Furthermore, tire pressure fluctuates with outdoor temperatures, dropping approximately one pound per square inch for every ten degree Fahrenheit decrease in ambient temperature.